Getting to know the user panel
The Arianet user panel is at panel.ariaservice.net. All products (VPS, cloud, dedicated servers, hosting, domains and SMS), your wallet, bills, tickets and account settings are managed from this one panel.
This guide walks through every part of the panel step by step, with screenshots. The panel itself is in Persian, so each UI label is given in English followed by the Persian label in quotes. If you are just starting, go in this order:
- Sign up and sign in
- Identity verification
- Top up your account
- Buy your first service: a VPS, cloud, hosting or a dedicated server
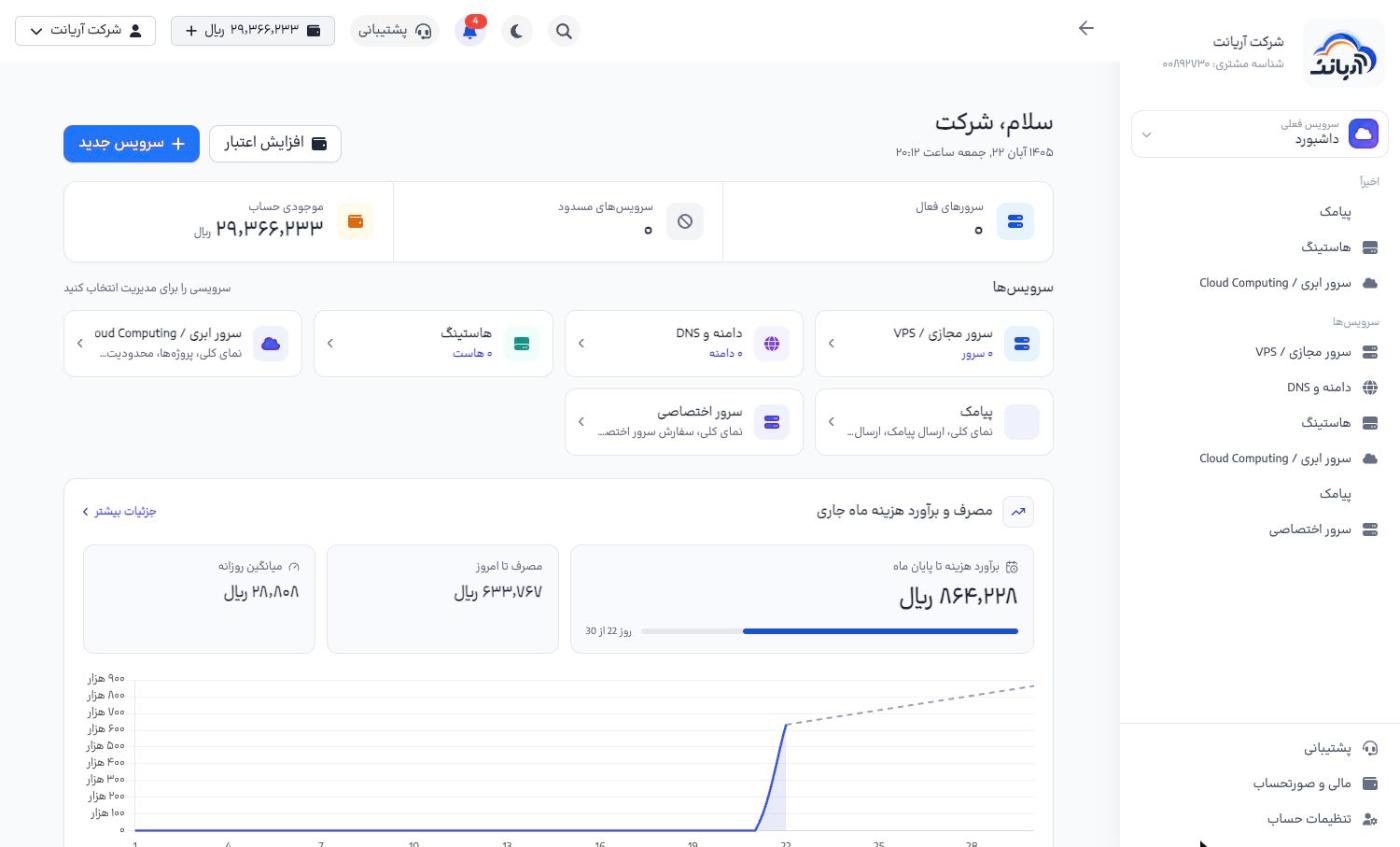
Sidebar
The sidebar (on the right, since the panel is right-to-left) has three parts:
- Top: the account name and Customer ID («شناسه مشتری»), and the Current service («سرویس فعلی») box, which you use to switch between products.
- Middle: the pages of the current product. On the dashboard it shows Recent («اخیراً», products you opened recently) and Services («سرویسها», all products). When you open a product, the menu changes to that product's pages; All services («همهٔ سرویسها») takes you back to the dashboard.
- Bottom (always shown):
- Support («پشتیبانی»): tickets
- Finance and billing («مالی و صورتحساب»): top up, automatic payment, bank receipt submission, transactions and bills
- Account settings («تنظیمات حساب»): profile and security, SSH keys and API tokens, organizations, and team and access
Top bar
From left to right:
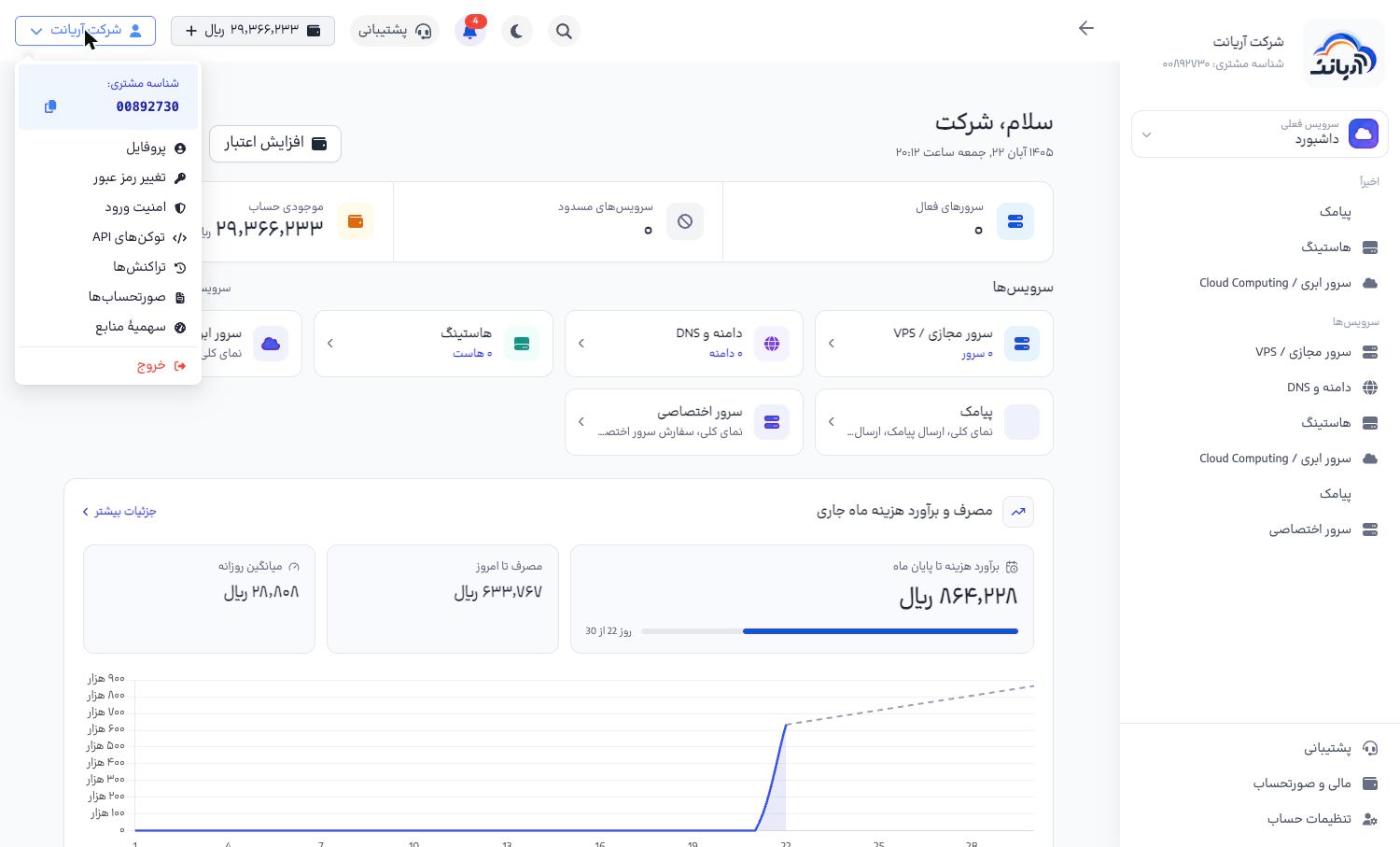
- Account menu (the account name): Customer ID (with a copy button), profile, change password, sign-in security, API tokens, transactions, bills, resource quota and sign out
- Wallet balance: click it to go to the top-up page
- Support: a shortcut to tickets
- Notifications (the bell): system messages, such as a service being created or your balance running low; the red number is the count of unread notifications
- Light / dark mode
- Search (shortcut
Ctrl+K): quickly find services and pages - Create (only on cloud pages): quickly create a server, volume, network and more
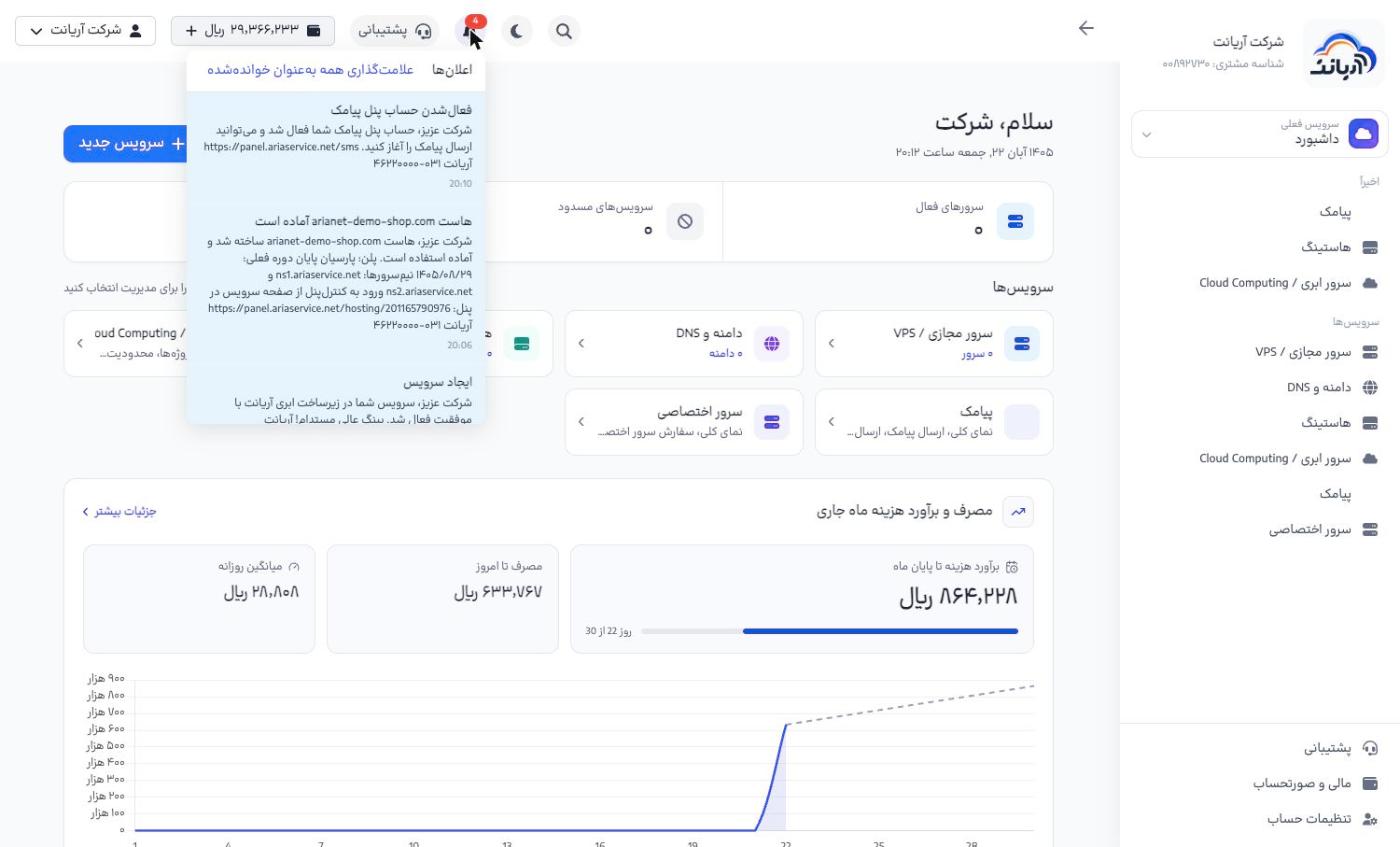
- Use Mark all as read («علامتگذاری همه بهعنوان خواندهشده») to mark every notification as read at once.
- Choose the channels you receive notifications on (SMS, email, Telegram, panel) in Profile → Notifications.
- When you contact support, copy your Customer ID from the account menu and give it to them.
Switching between accounts
If you are a member of an organization, or someone has invited you to their account, use the account menu to switch between Personal account («حساب شخصی»), My organizations («سازمانهای من») and Other people's accounts («حسابهای دیگران»). Each account has its own wallet, services and bills. The full guide is in Team, organizations and access.