Team, organizations and access
These features let you add colleagues to your account without giving them your account password, and decide exactly what each of them can access.
The Team and access («تیم و دسترسیها») section is only shown to the account owner. When you have switched into someone else's account, this section is not shown.
Team members
Open Account settings → Team members («تنظیمات حساب ← اعضای تیم»). Each member signs in with their own mobile number, but acts within this account and only according to the access policies attached to them.
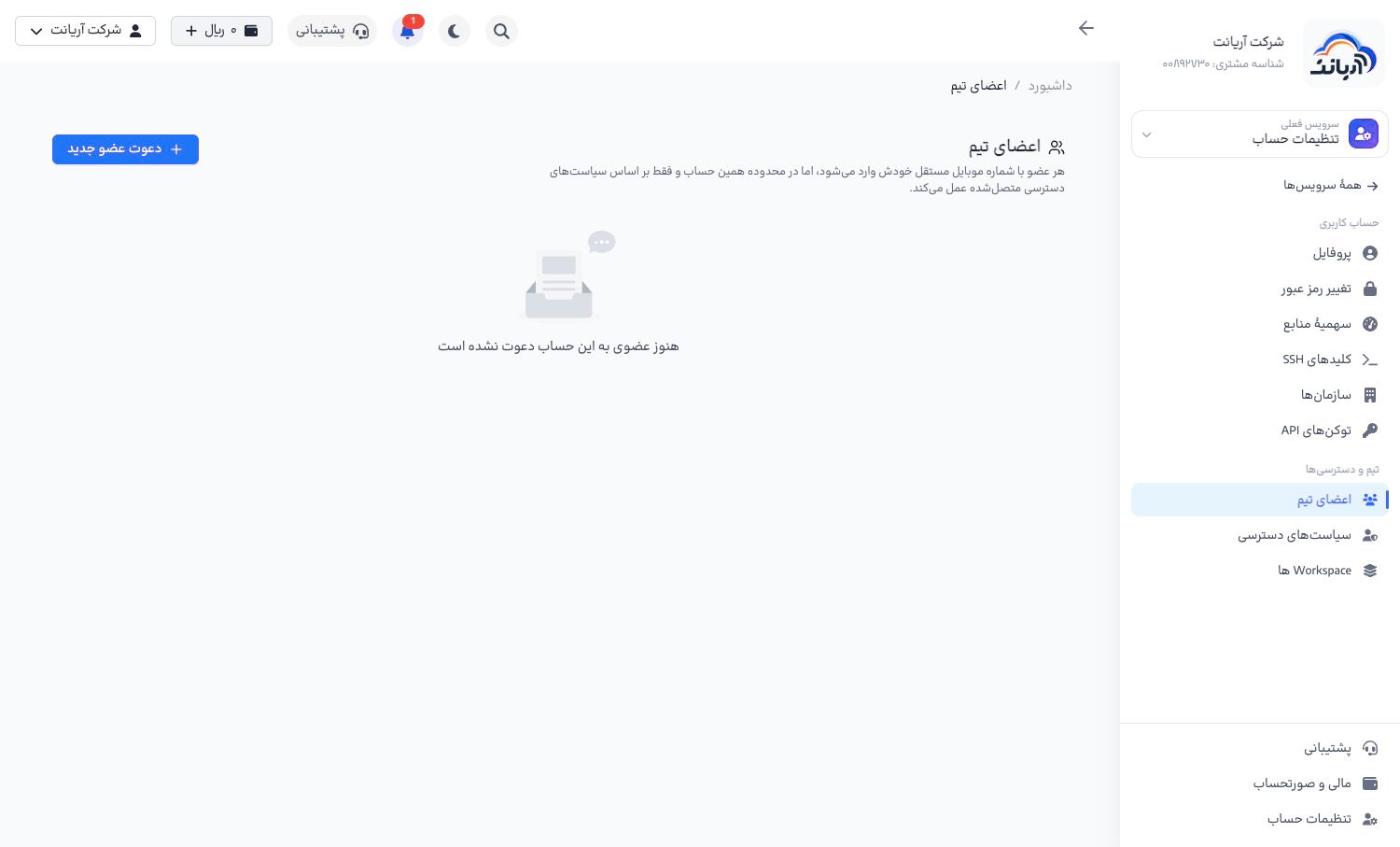
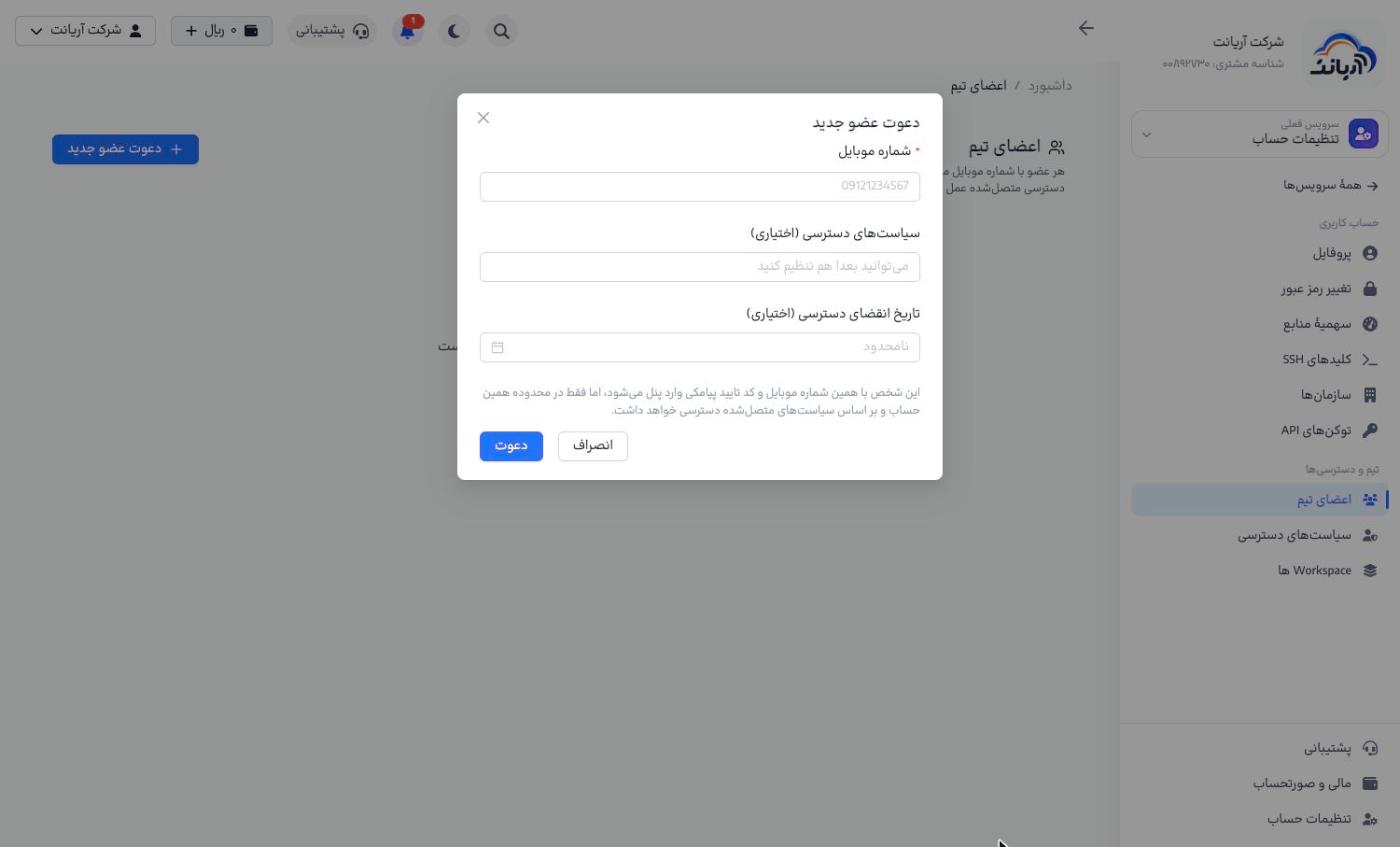
Inviting a new member
- Click Invite new member («دعوت عضو جدید»).
- Enter the member's mobile number.
- Access policies (optional) («سیاستهای دسترسی (اختیاری)»): the policies the member should have. You can also set these later.
- Access expiry date (optional) («تاریخ انقضای دسترسی (اختیاری)»): for temporary collaboration (for example a contractor), set an end date; the default is Unlimited («نامحدود»).
- Click Invite («دعوت»).
The member signs in to the panel with that mobile number and an SMS code, and selects your account from the account menu (top corner of the panel) under Other people's accounts («حسابهای دیگران»).
A member with no policy has no access to anything. After inviting someone, be sure to attach a suitable policy to them.
Access policies
Access policies work like IAM policies in AWS: each policy allows a set of actions on one or more resources (services) and is attached to team members.
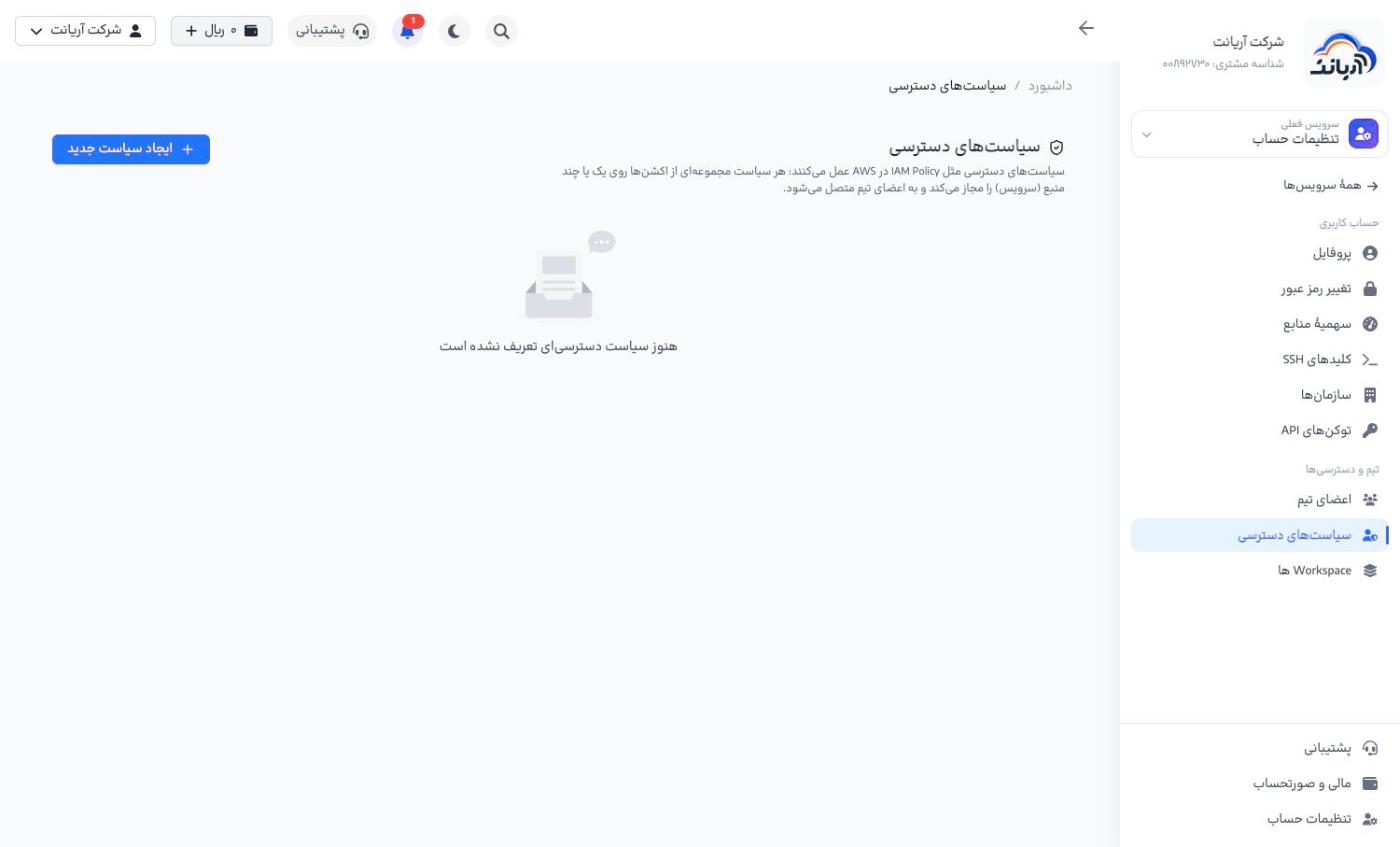
- Click Create new policy («ایجاد سیاست جدید»).
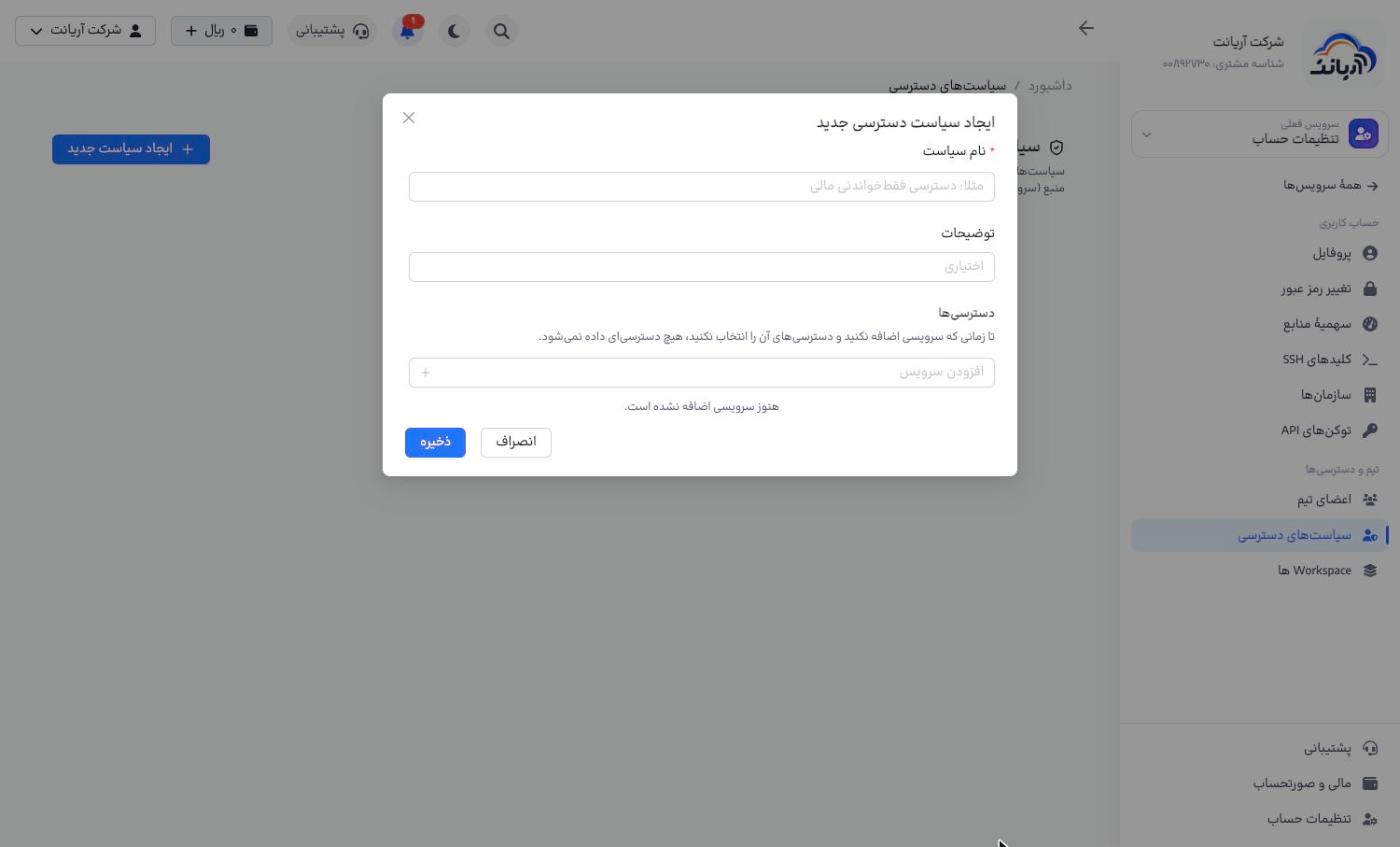
- Enter a Policy name («نام سیاست», for example "Finance read-only access") and, optionally, a Description («توضیحات»).
- In Permissions («دسترسیها»), add a service with Add service («افزودن سرویس») and choose its allowed actions. Also set the policy's scope: all resources, one Workspace or specific services.
- Click Save («ذخیره»).
- The least privilege principle: give each member only the actions they need. For example, an accountant gets view-only access to finance, and a developer gets only the servers of one Workspace.
- Until you add a service and choose its permissions, a policy grants no access at all.
Workspaces
A Workspace is a group of services, for example for one project or one client. With a Workspace you can:
- limit a team member to only that group's services, with a single access policy
- set a monthly budget and an alert threshold for the group
- see each group's Current month usage («مصرف ماه جاری») and Usage report («گزارش مصرف») separately
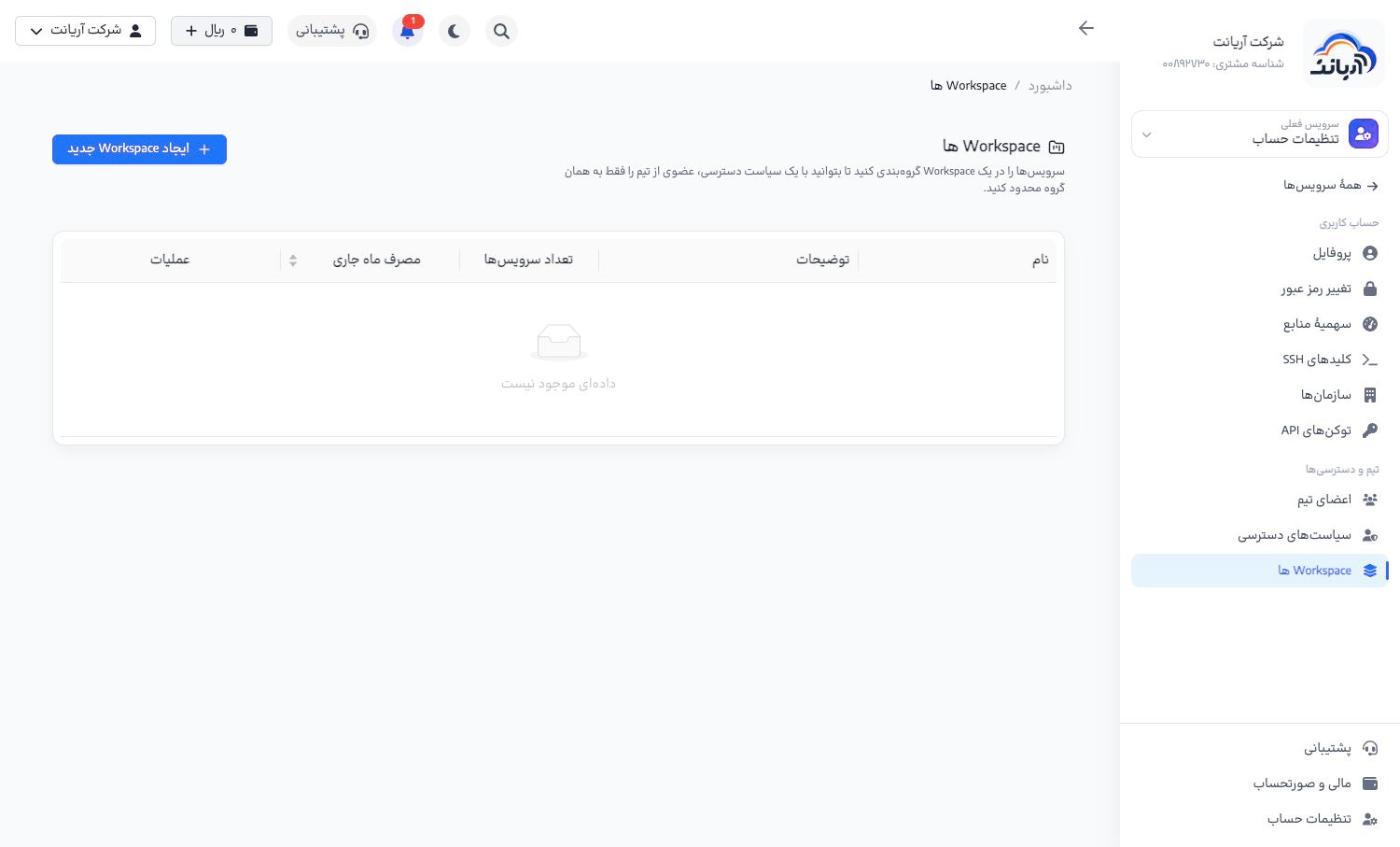
Click Create new Workspace («ایجاد Workspace جدید»), give it a name and description, then add services to it from Manage services («مدیریت سرویسها»).
Organizations
An organization is a completely separate account: it has its own wallet, bills, services and team. To keep the costs and access of several businesses apart, create an organization for each one.
- Open Account settings → Organizations («تنظیمات حساب ← سازمانها») and click New organization («سازمان جدید»).
- Enter the organization's name.
- Switch between your organizations and your personal account from the account menu at the top of the page (account switcher).
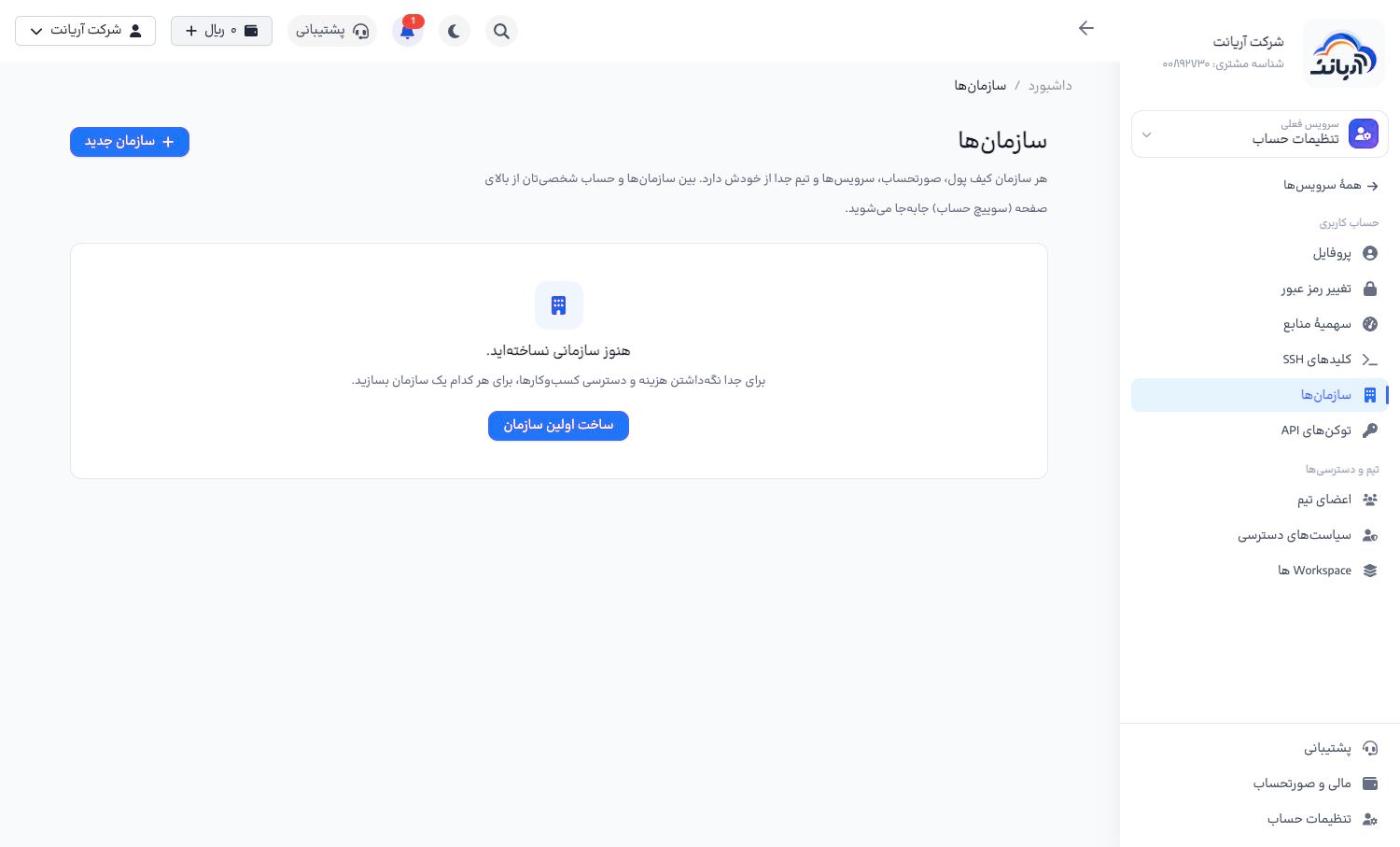
The personal account's wallet balance cannot be used in an organization, and vice versa; top up each organization separately.